You should have disconnected your exterior drainage extension last fall to prevent freezing and potential damage during the winter. Reconnecting it ensures the discharged water is moved well away from your foundation, preventing it from draining into your waterproofing system over and over again. The process of reconnecting your exterior drainage pipe is straightforward:
Step 1: Remove the Diffuser Cap
Begin by locating the end of the exterior drainage pipe where it connects to your home’s waterproofing system. You will see a diffuser cap that was likely put in place at the end of fall as a preparatory measure for winter. Carefully remove this cap to expose the opening where the drainage pipe extension will be connected.
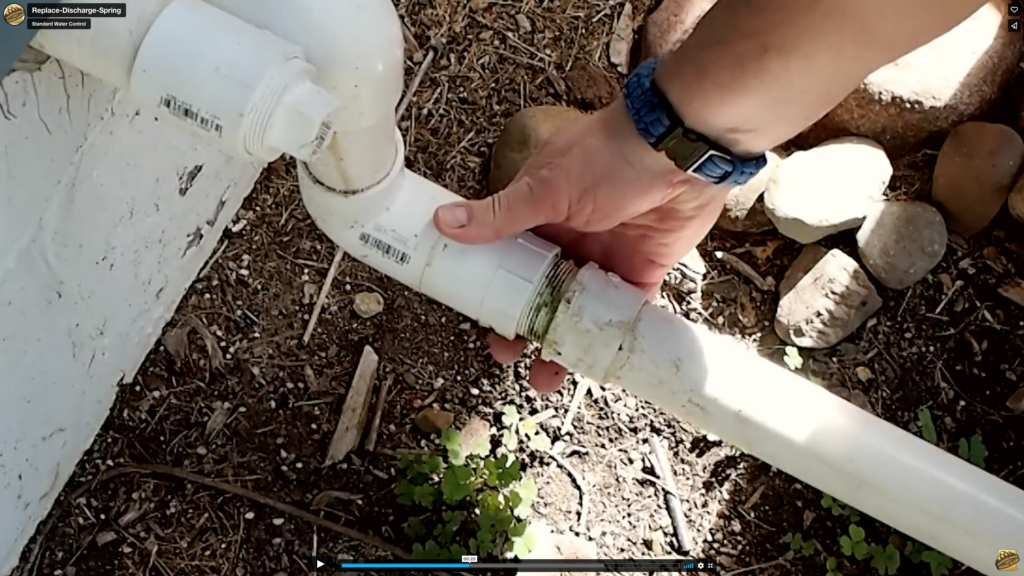
Step 2: Replace the Diffuser Cap with Your Drainage Pipe Extension
Take your drainage pipe extension and securely connect it to the opening you’ve just exposed by removing the diffuser cap. Ensure that the connection is tight and secure to prevent any leakage or displacement of the pipe due to weather conditions or ground movement.
Step 3: Attach the Diffuser Cap to the End of the Long Drainage Pipe
Finally, go to the far end of the drainage pipe extension and attach the diffuser cap you previously removed. This step is crucial as the diffuser cap helps to disperse the water emerging from the pipe evenly, minimizing soil erosion and keeping critters out of your system.
If you have any questions don’t hesitate to contact us.